- With 60.6% of all internet users, Facebook is the most popular social media network.
- Over 200 million SMEs use Facebook tools to spread their business presence globally.
- 63% of the buyers use Facebook for internet shopping.
- Ninety million small businesses use Facebook to advertise their products.
The numbers say it all; so you must create a Facebook shop to thrive in this competitive eCommerce industry. The Facebook shop is a mobile-first in-app feature of Facebook, allowing buyers and sellers to transact within one platform. Businesses can create a personalized, shopper-friendly online platform through Facebook shop. If you’re selling on eCommerce marketplaces like Amazon and Flipkart, you must also sell on Facebook. This gets you more customers, establishes trust, and builds a brand identity.
In this blog, we’ll focus on Facebook as a marketplace and how to create a shop on Facebook in five simple steps.
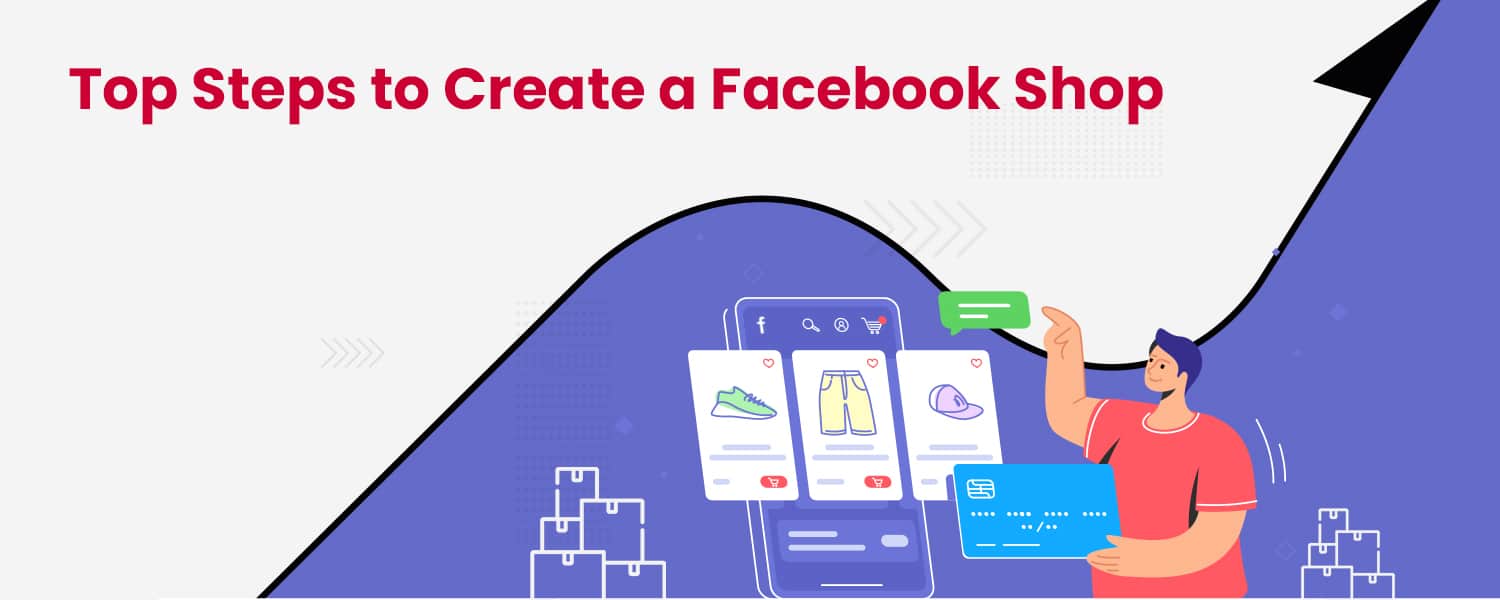
What is a Facebook Shop?
Facebook Shops are the latest craze for savvy business owners looking for a fast, simple way to create an eCommerce store. It’s essentially a digital storefront that can be accessed directly from Facebook and Instagram, allowing businesses to expand their reach faster. Unlike traditional online shopping websites, Facebook Shops offer users a streamlined, social shopping experience that feels connected, convenient, and secure.
Facebook Shops make it easy to turn Facebook pages into storefronts – customers can browse products, view real-time availability, and check out in just a few taps. It’s perfect for small businesses closing their physical stores due to the COVID-19 pandemic! There’s no need to worry about setting up your website or learning complex coding languages – Facebook Shops simplify the whole process and give you total control over your brand’s look across Facebook and Instagram.
With features like product tagging, Facebook makes it even easier for potential customers to find what they’re looking for. From increasing sales and exposing products to a larger audience to giving customers access to an even broader range of merchandise, creating a Facebook Shop is an easy decision when looking for ways to grow your eCommerce business!
Requirements to make a Facebook shop
- A Facebook profile and a Facebook business page linked to it.
- Your Facebook page must have 2000 likes on it.
- The product you’ll sell must be physical. No digital products are allowed.
- A legal permit to operate in the country where you’re selling.
- You must have a Tax Identification Number (TIN).
- You should have a bank account with your Facebook name.
Five Steps to Creating a Facebook Shop
Step 1: Go To Your Facebook Page And Configure The Shop Page
The first step in creating a Facebook shop is to go to your Facebook page and configure the shop page. This shop page lets you list products, set pricing, and accept payments directly through Facebook. To get started, access the settings on your page.
- Click the ‘Shop’ option on the left-hand sidebar.
- Then click ‘Create Shop.’ Here you can select a payment method and add product details such as name, description, category, and price.
You’ll also be able to customize the checkout process and view customer orders in real time. Once you’ve configured your shop page, you can start attracting customers by advertising your products or adding them to your web page with embed options.
Step 2: Set Up Your Shop Details
The setup shop details vary for US-based stores and other country stores. In this blog, we’ll know about details for other country stores.
- Click on the shop button on the sidebar, and the merchant terms and policies pop-up will appear.
- You must read the merchant terms and policies and check the box “I agree to the Merchant Terms and Policies.”
- Then click “Continue.”
Next, choose the actual method in which the orders will be handled. Depending on your region, you might not even get this pop-up and get redirected to the shop page creation screen instead.
You’ll get two checkout method options:
- Message to Buy: If you don’t have any other eCommerce website, then this is the checkout method to go for. In this method, the visitor who wants to buy a product from your store will message you through Facebook Messenger. Then it will be straightforward, end-to-end communication between you and the customer.
- Checkout on Another Website: It is more of a customer-friendly approach, where the checkout process will be taken care of by the eCommerce platforms like Shopify, where your eCommerce website is hosted.
Step 3: Configure Your Payments
The next step is configuring your payments. This is also different for U.S- based stores and non-U.S-based stores. For U.S.-based stores, the common setup is linking your bank account. Still, Facebook lets you set up payments via PayPal or Stripe for other country stores.
Step 4: Add Products To Your Facebook Store
At this point, you’ve overcome half of the process. To add your first product, click on the Add Product button. Then you’ve to fill out the form. The form features all the necessary details that best describe your product.
- Product photos or videos. Adding at least one picture of your product is mandatory. Still, adding multiple photos or a video of your product is better. To add product images, click on “Add Photos” this is similar to any other interface where you have to grab an image for the computer and upload it. To enhance the customer experience, you can use infographics that describe your products so that customers can know more about your products.
- Name and Description. A brief product description is crucial for any product listing. Write a brief product description that describes your product. Feel free to get creative with words and discuss the benefits customers will get from your product. You can also outsource this task to a freelancer who is an expert in writing product descriptions, or you can copy the product description from your eCommerce website.
- After setting the product name and description, list the price of your product. No product listing is complete without a competitive price; that’s why it is very crucial. Before setting the price of a product, it is recommended to scrutinize other product prices sold in your category.
- Checkout URL. This option will only appear if you choose to “check out on another website” on the Shop page. The checkout URL is the specific URL of your eCommerce website where customers can purchase this product. If you have an eCommerce website, this option is useful. Whether you use Shopify or Bigcommerce, you can get your link simply by navigating to the product via your web browser and copying the URL from the address bar. Paste that URL into the Checkout URL field.
- Share this product on your page. Check this box to have your product shared on your Facebook page as soon as it is approved.
- The last step is setting the product visibility, which you might want to set as “Public.” Then click on the Save button to complete the process.
Step 5: Manage Your Orders
You can manage the products listed from your shop management tool. As you’ve listed certain products in your Facebook shop,
- You can reach it by clicking “Publishing Tools” on the top bar.
- After that, click on “Products” on the sidebar.
From there, you can check the status of your products, edit them, and add other products.
Conclusion
So there you have it! Our top five steps for creating a Facebook shop. By following these simple guidelines, you can be well on your way to starting and managing your very own online store. These steps will help make the process easy and headache-free.
To remind you, for the products you sell and ship on the Facebook marketplace, you must ship within three business days or within the handling time that you specified. Make sure to mark it as shipped as per Facebook guidelines. Finding a reliable courier partner who promises quick turnaround is an adversity new eCommerce players face. You need to know which courier service to take. Fortunately, there are logistics aggregators in the market like NimbusPost. You can choose one courier service through their platform after analyzing different metrics.